You've booked an interior photoshoot...now what?
First - celebrate!! Capturing your design project is a big deal! But, let's get real; if you haven't directed many (if any) photoshoots, it can be soo intimidating. This post is here to help you feel comfortable and ready! It is important to have a photographer that listens to your needs and someone you can collaborate with. Before even scheduling a photoshoot on my calendar, I have conversations with the designer about their expectations, and if I'm the one that can meet them. We would talk about - why getting these photos are important to you, what type of final images you are looking for, and the usage purpose of the photos. From there, if I vibe with you, and you vibe with me, we get the ball rolling and book a day!
Now, what about the actually photo shoot day? Here's 3 tips to help you prepare!
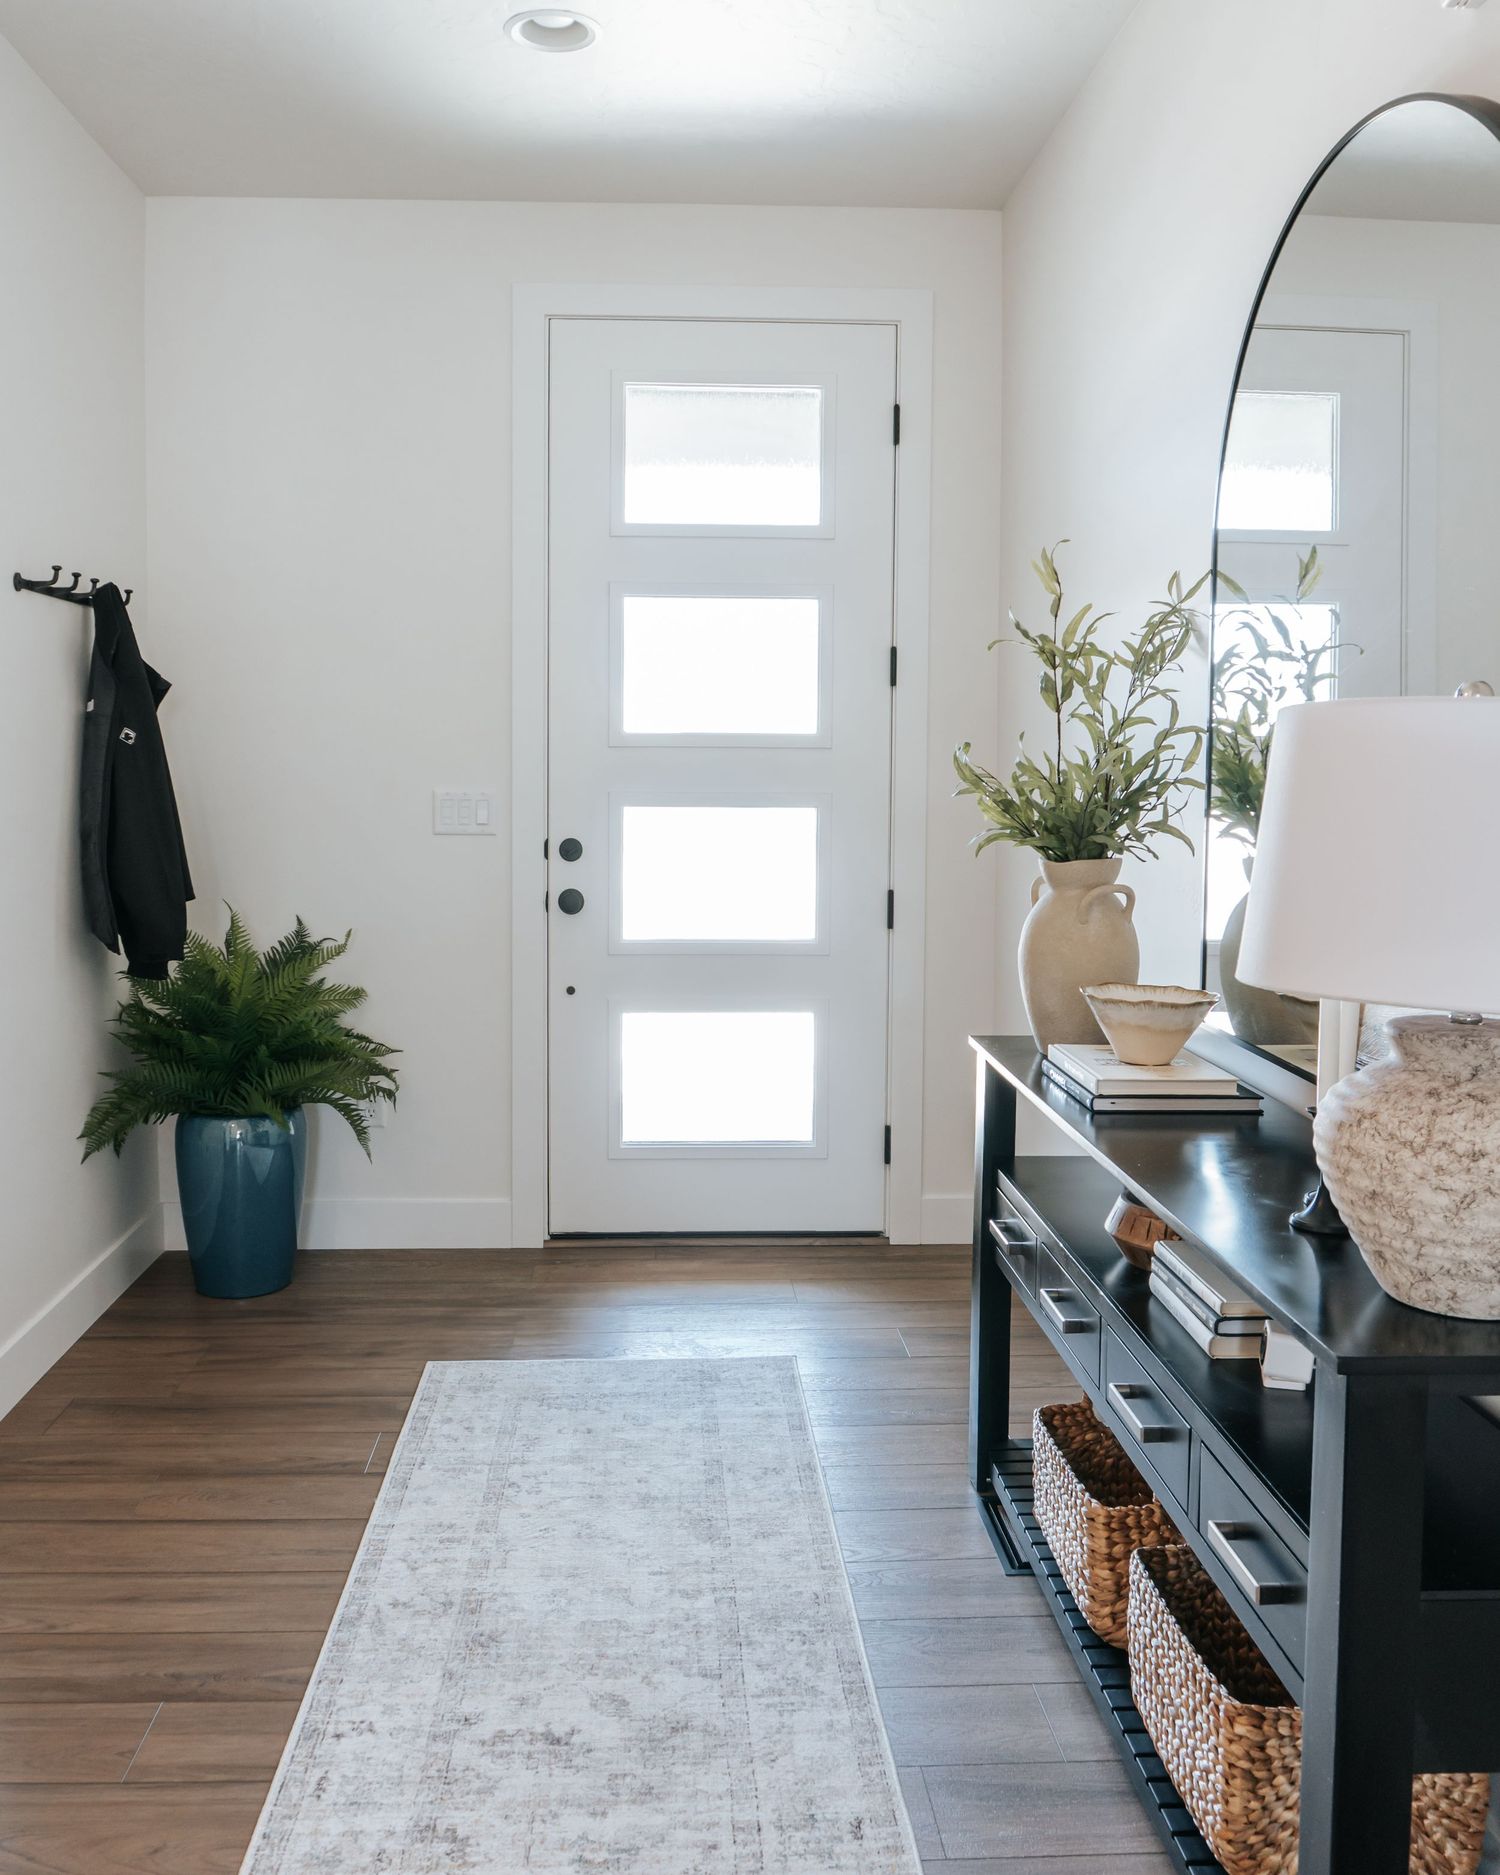
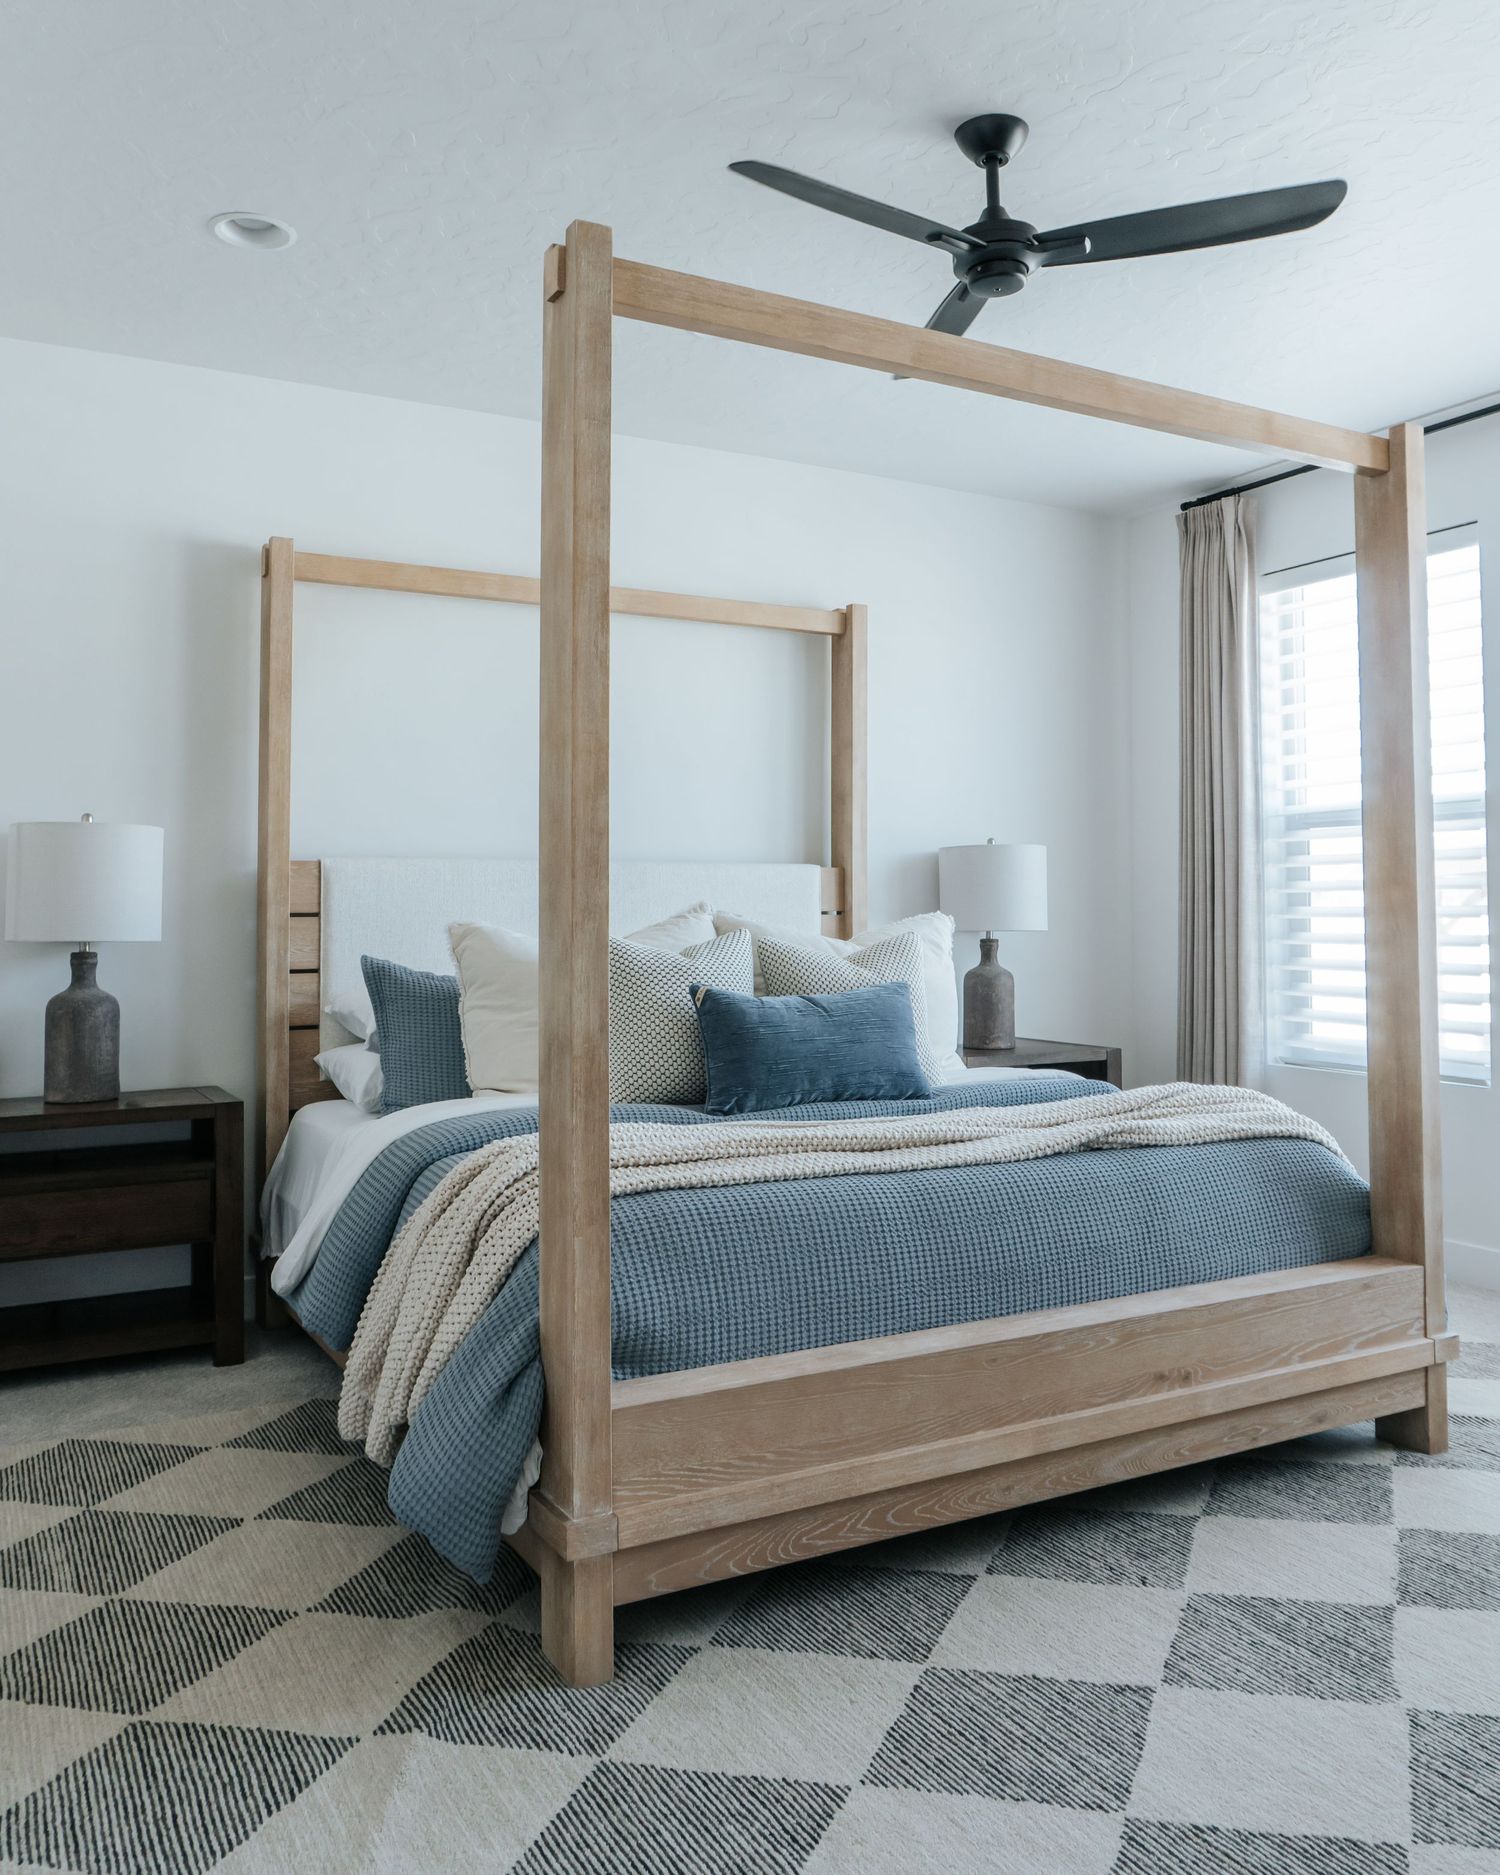
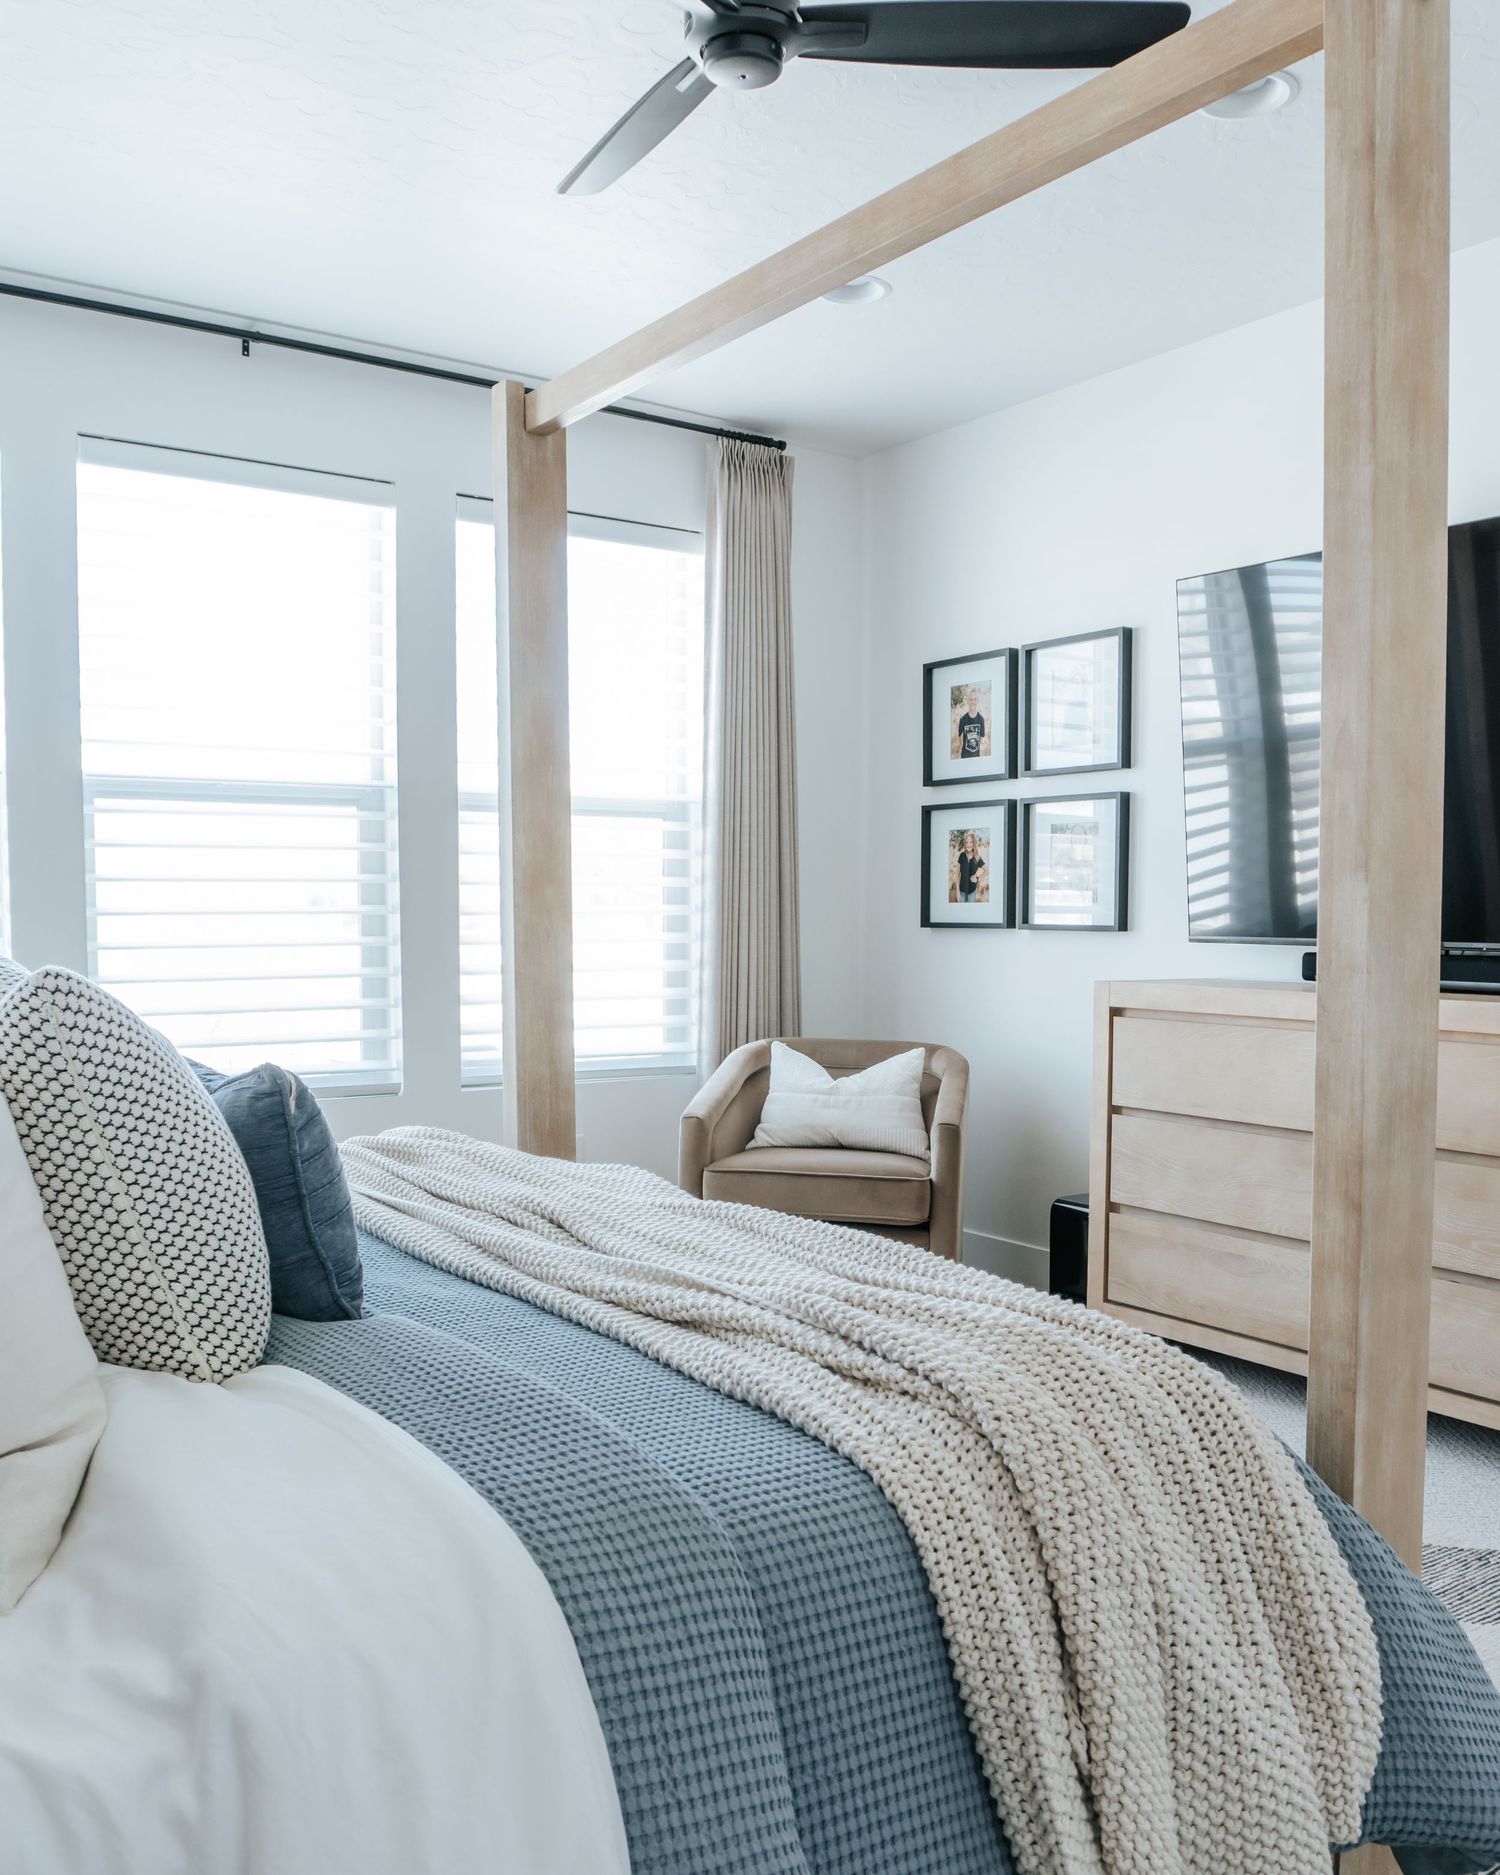
TIP 1: Clean + tidy up
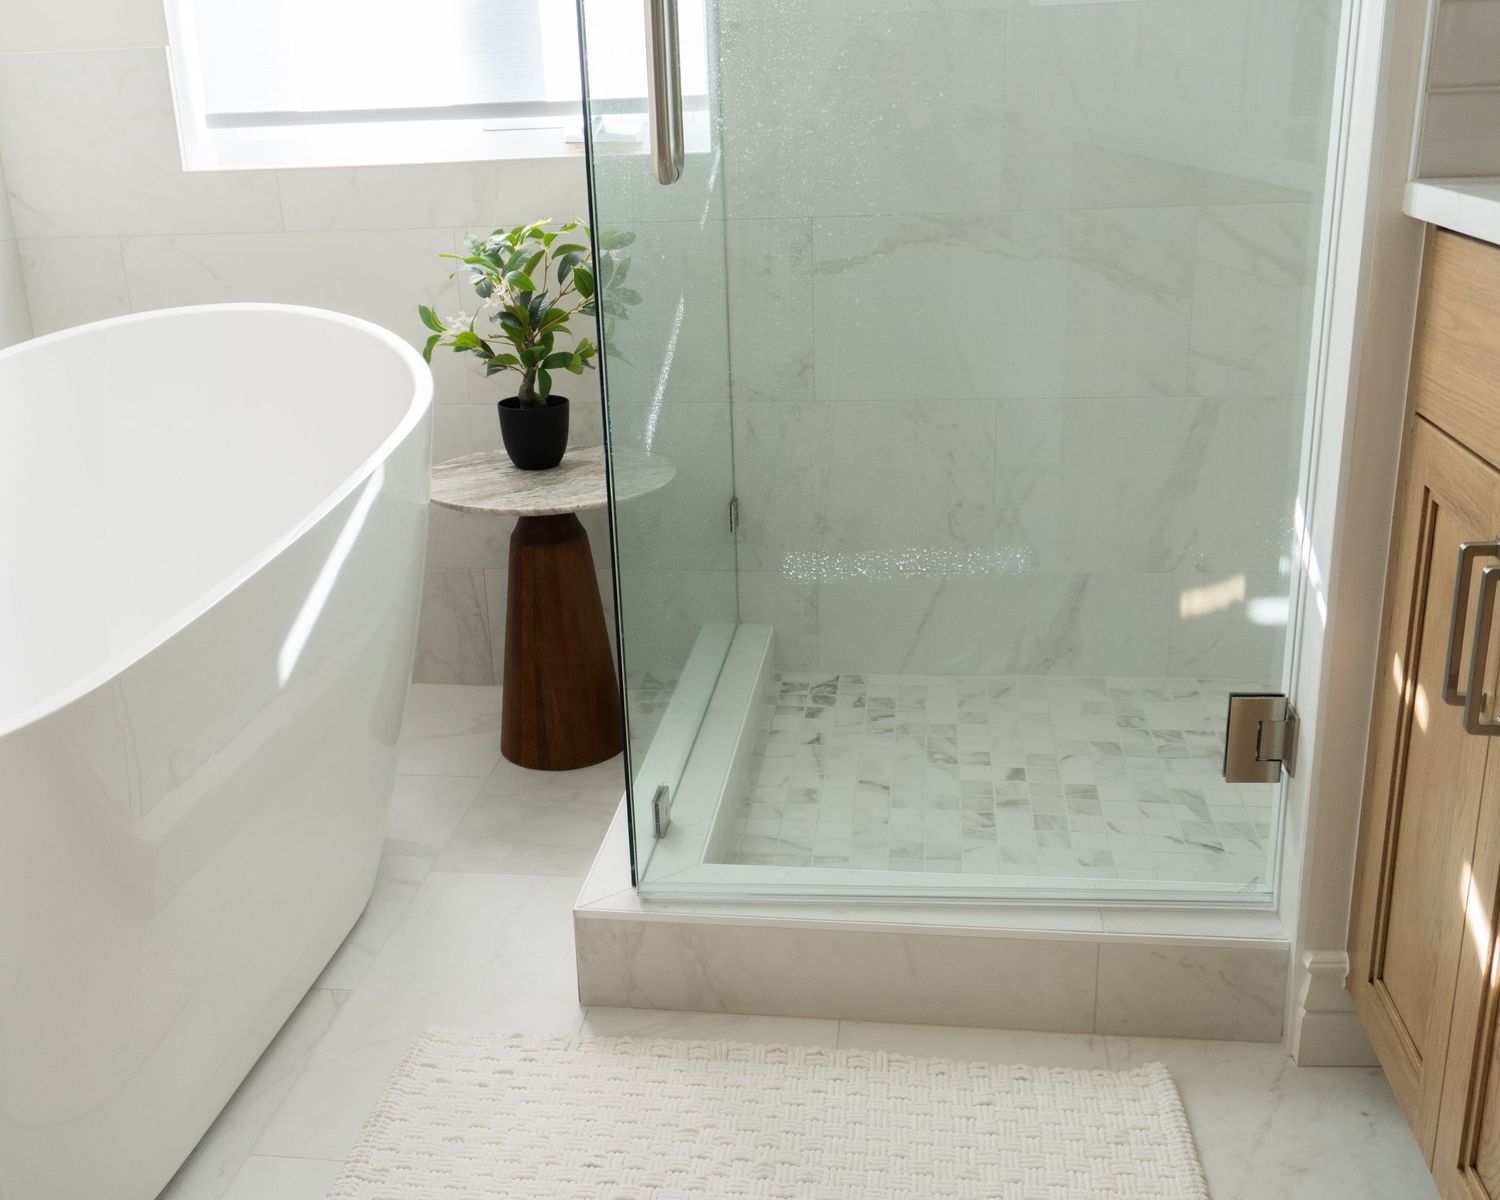
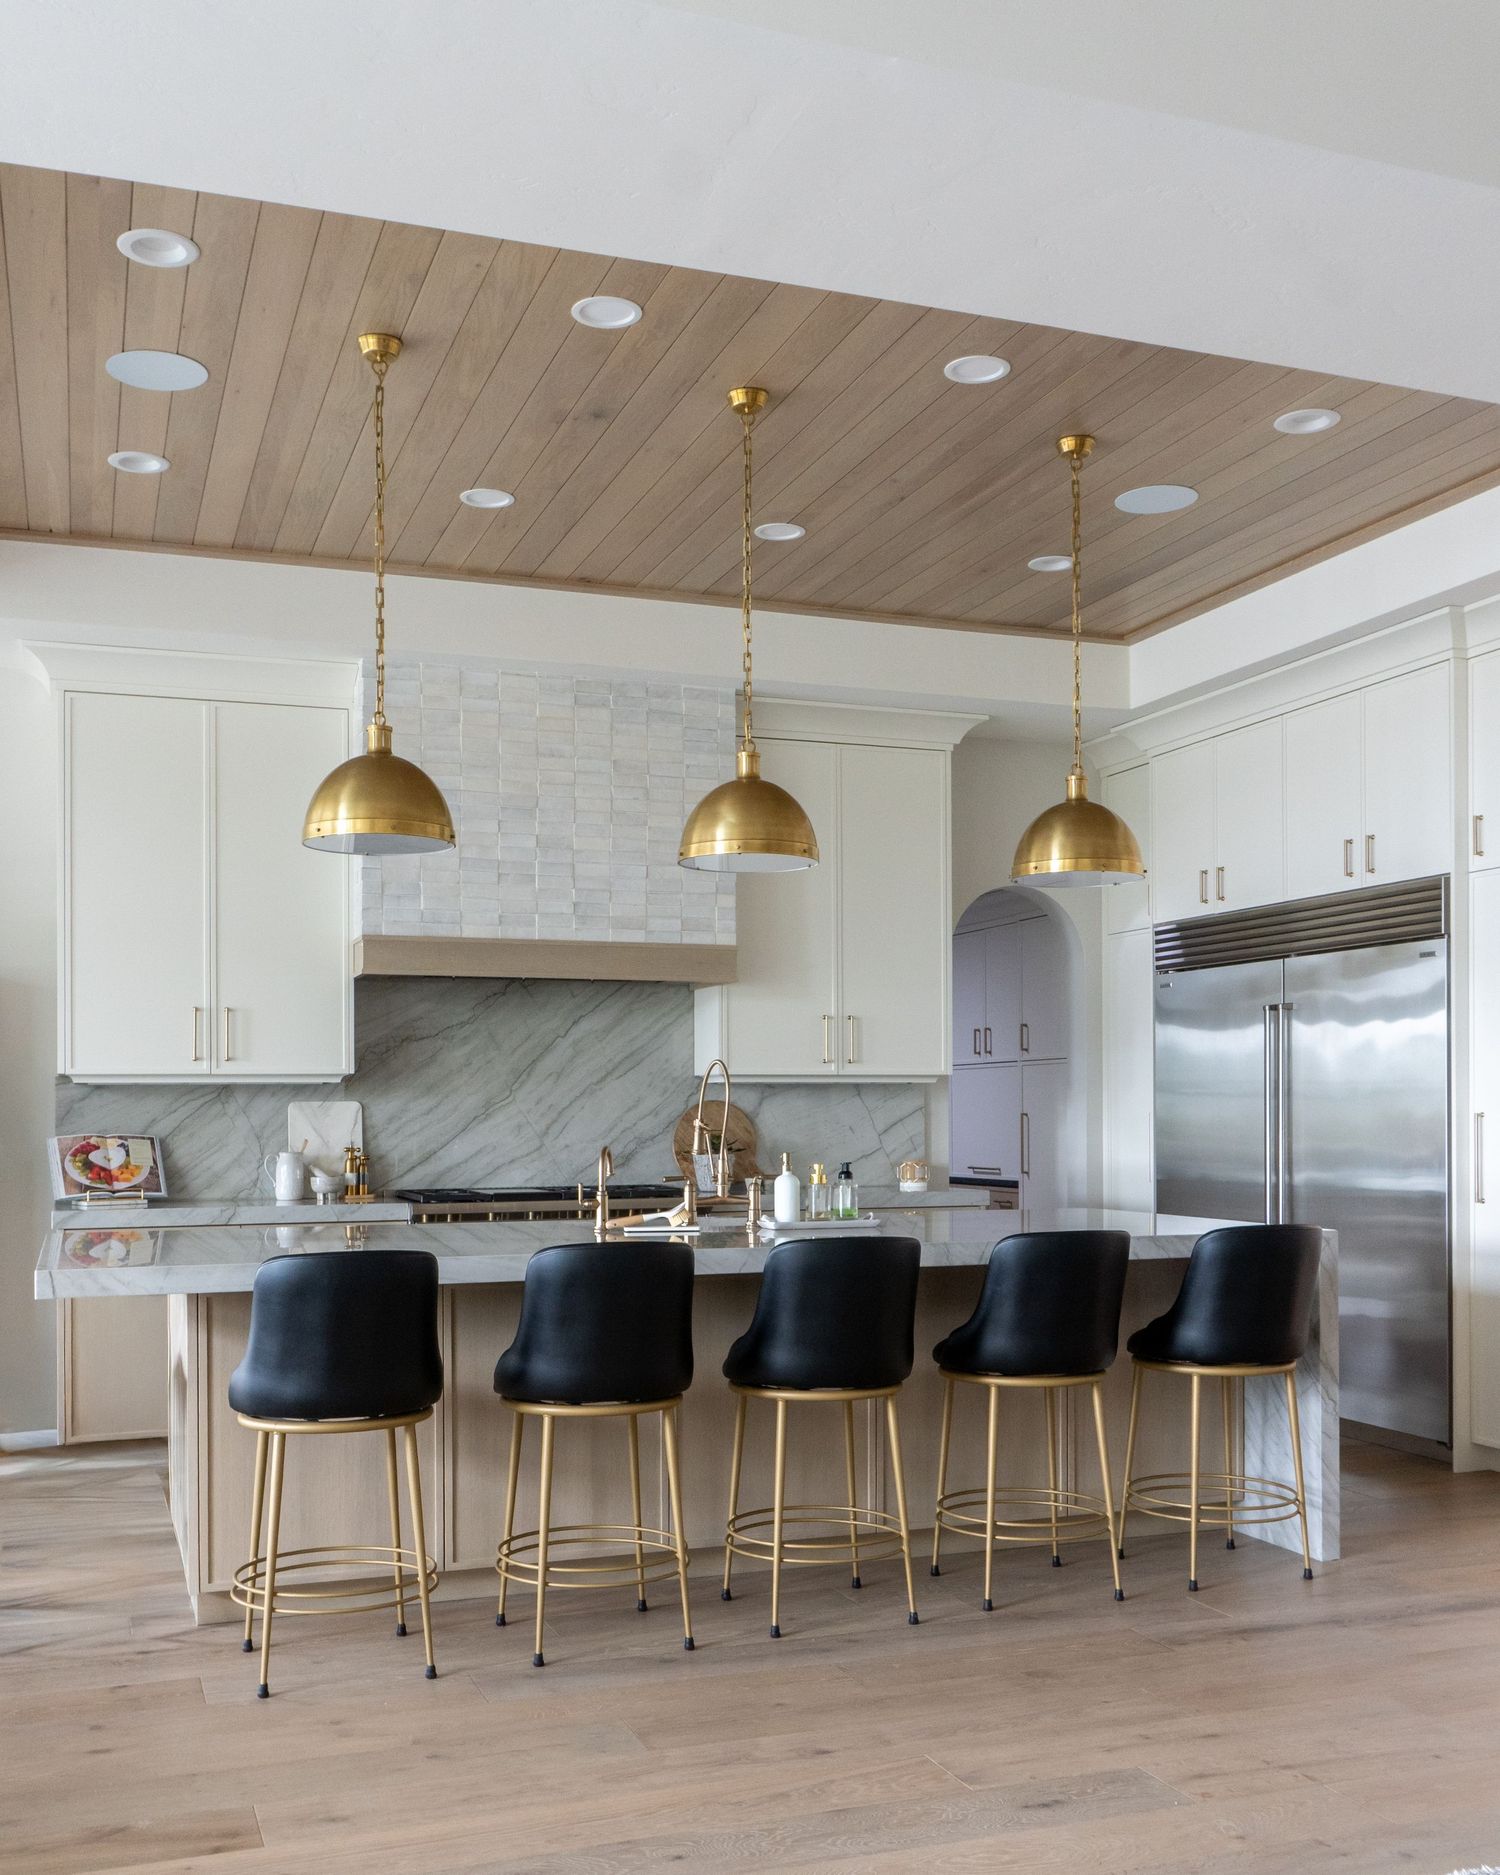
This may feel like it needs to go without saying, but I've shown up to projects before with rooms not photo ready. This step assures that the photoshoot can start right away, and go smoothly. What exactly needs to be cleaned? Think: glass, stainless steel (like fridges), dusting, or vacuuming. As humans, we naturally pick out things that are "wrong" or dirty, and I would hate for the finger print smudges on the fridge to distract from the design. As your photographer, I will help identify if my camera picks up any of those things. I also come prepared with cleaner items, if none are available.
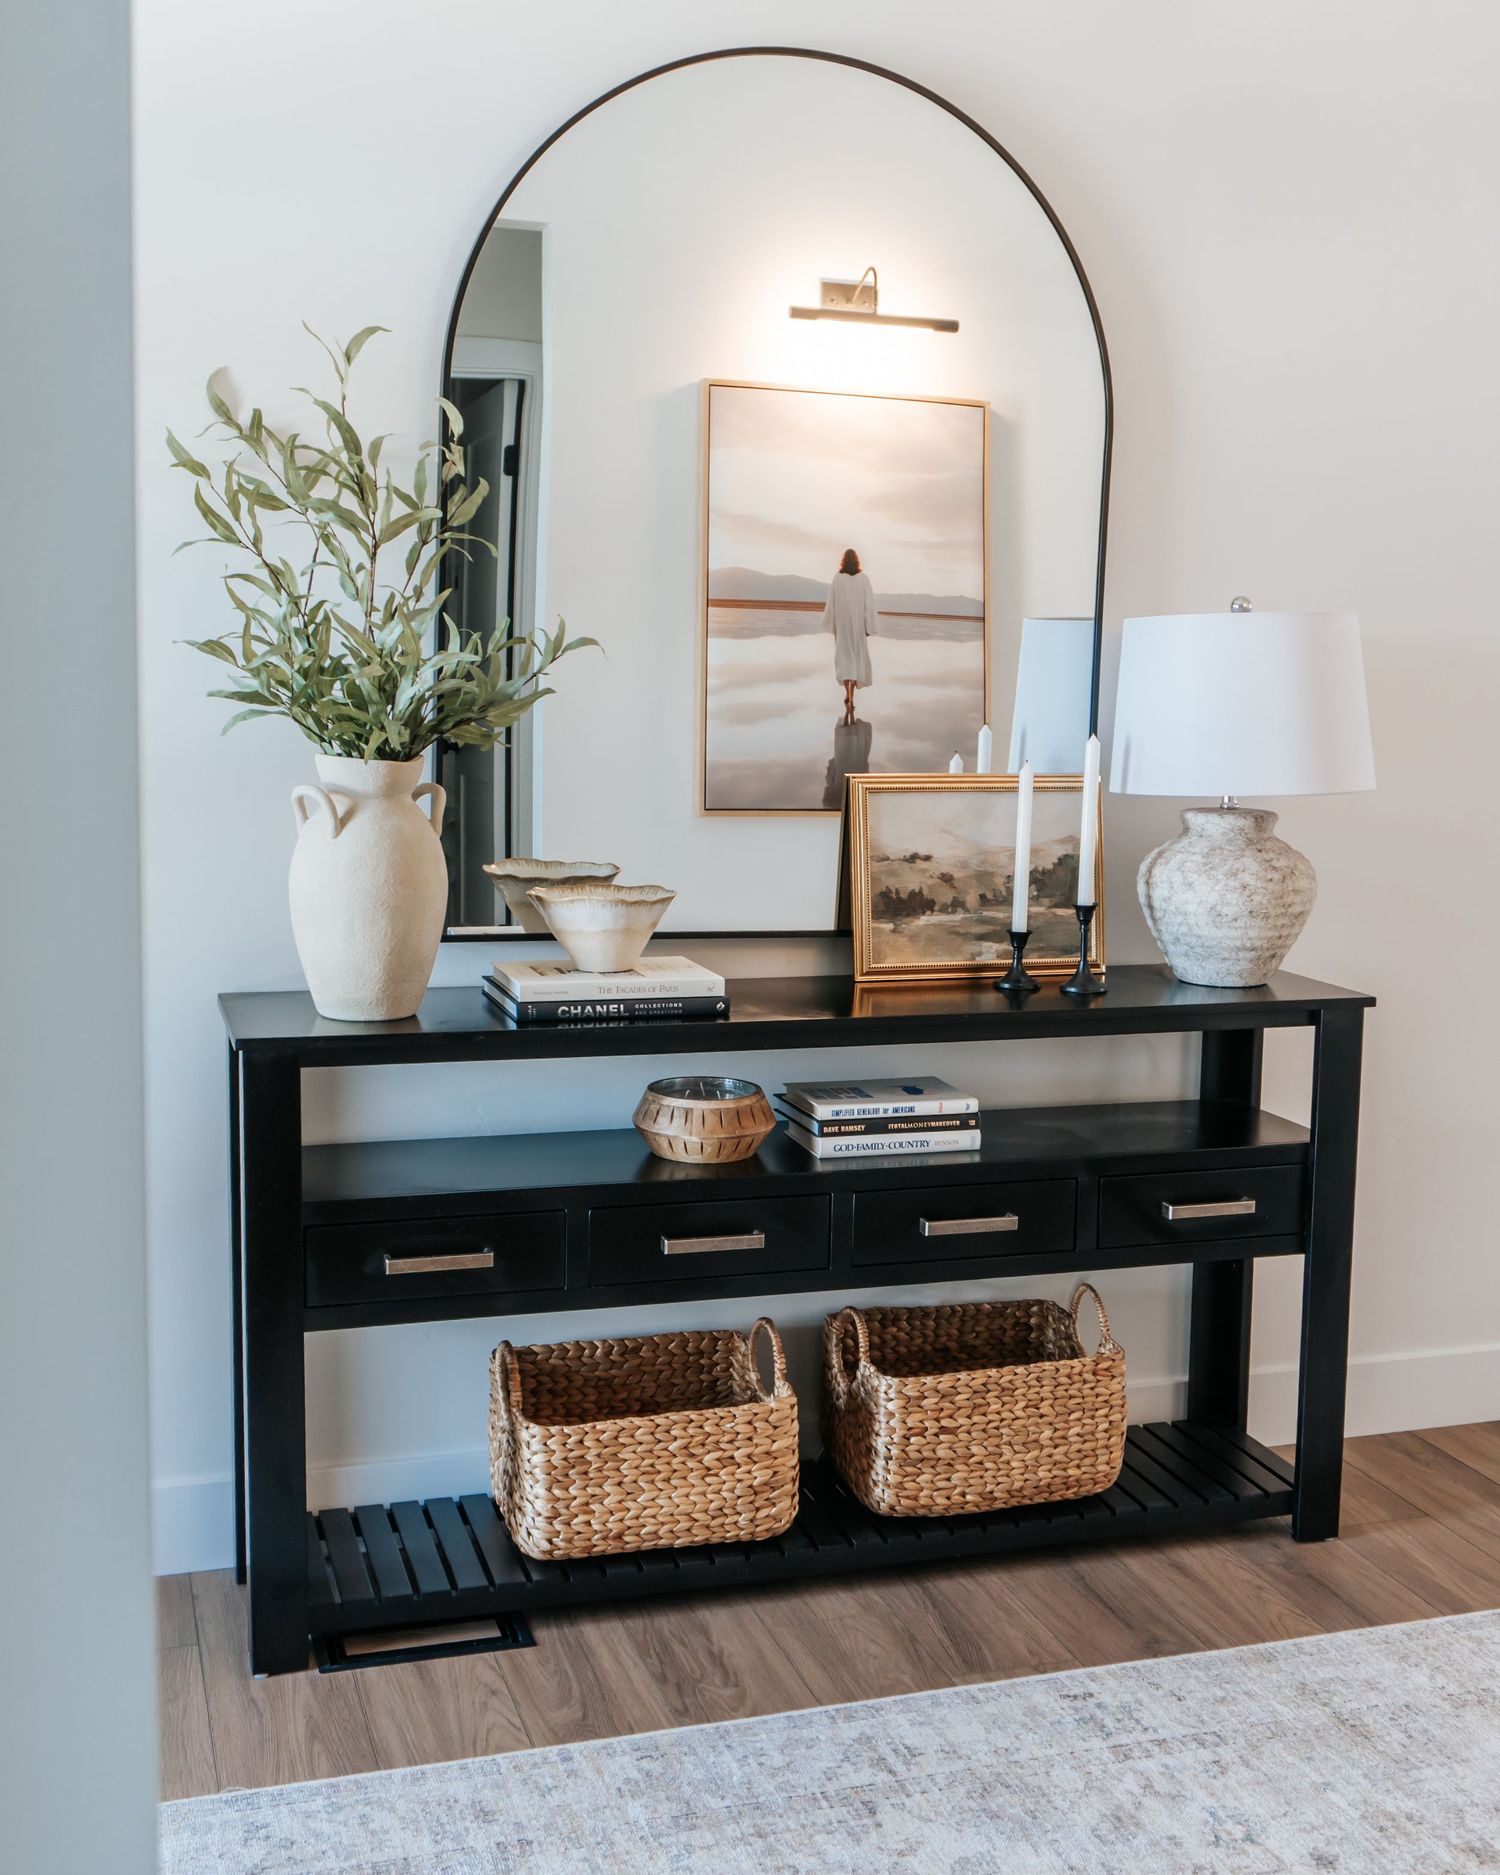
Tidying up can look like removing any thing that you or your client would not like in the final photos - family photos, trashcans, dishes, pet care items, etc.
TIP 2: Communicate what's important
While I come into each space with a professional and creative eye, you know your project best! If there are details that you want to make sure do not get missed, don't be afraid to speak up. Let me know what you're thinking. (This is where mutual trust and collaboration comes to play.) I'll show you what my lens is seeing along the way to make sure you are completely satisfied before we end the shoot.
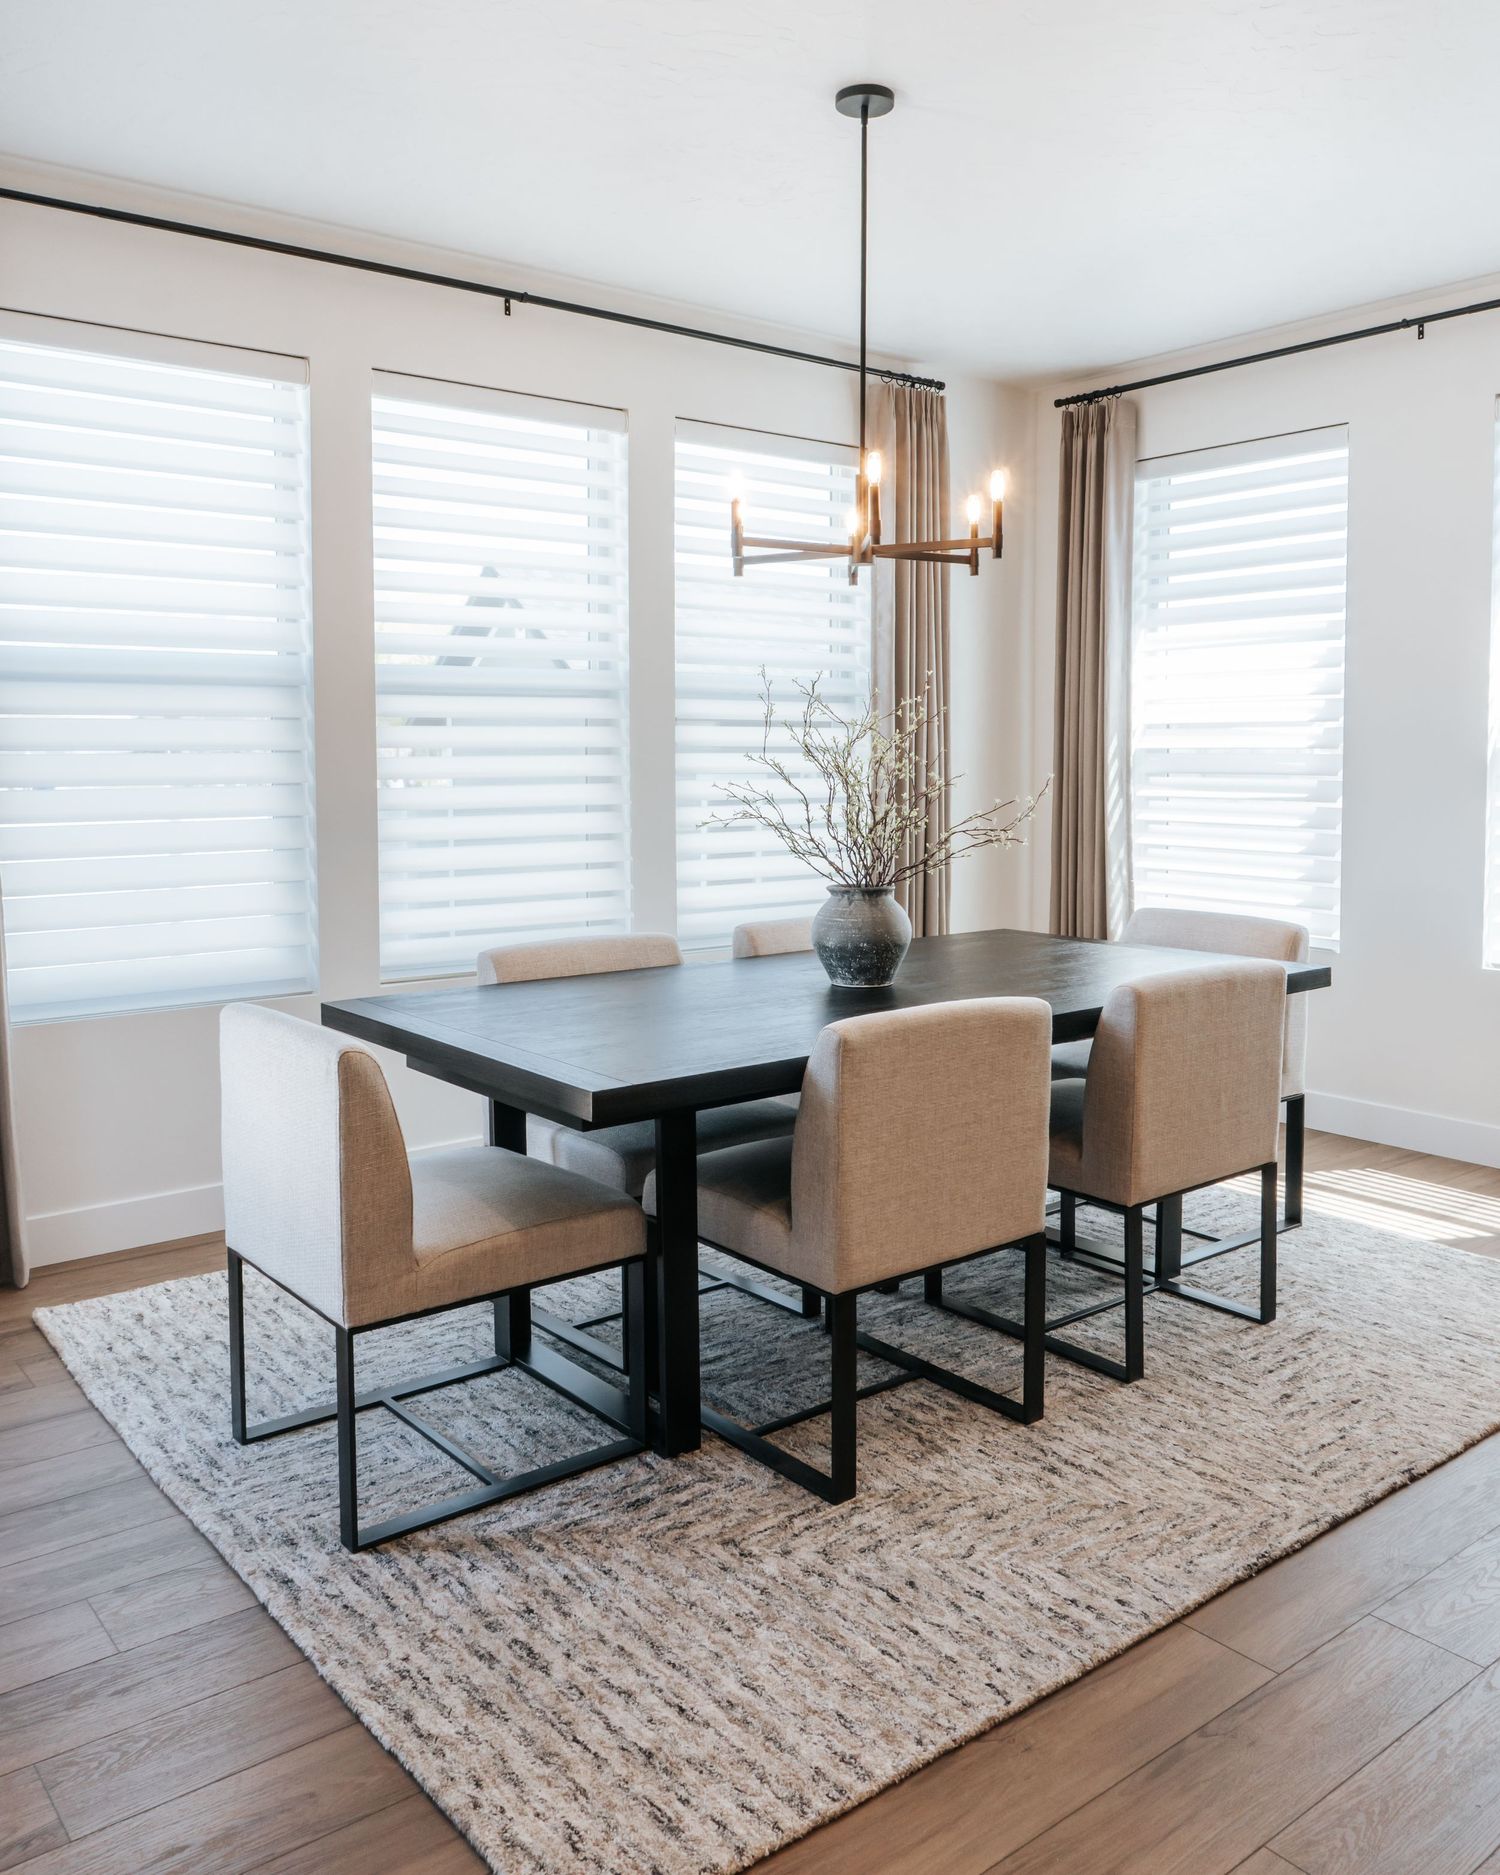
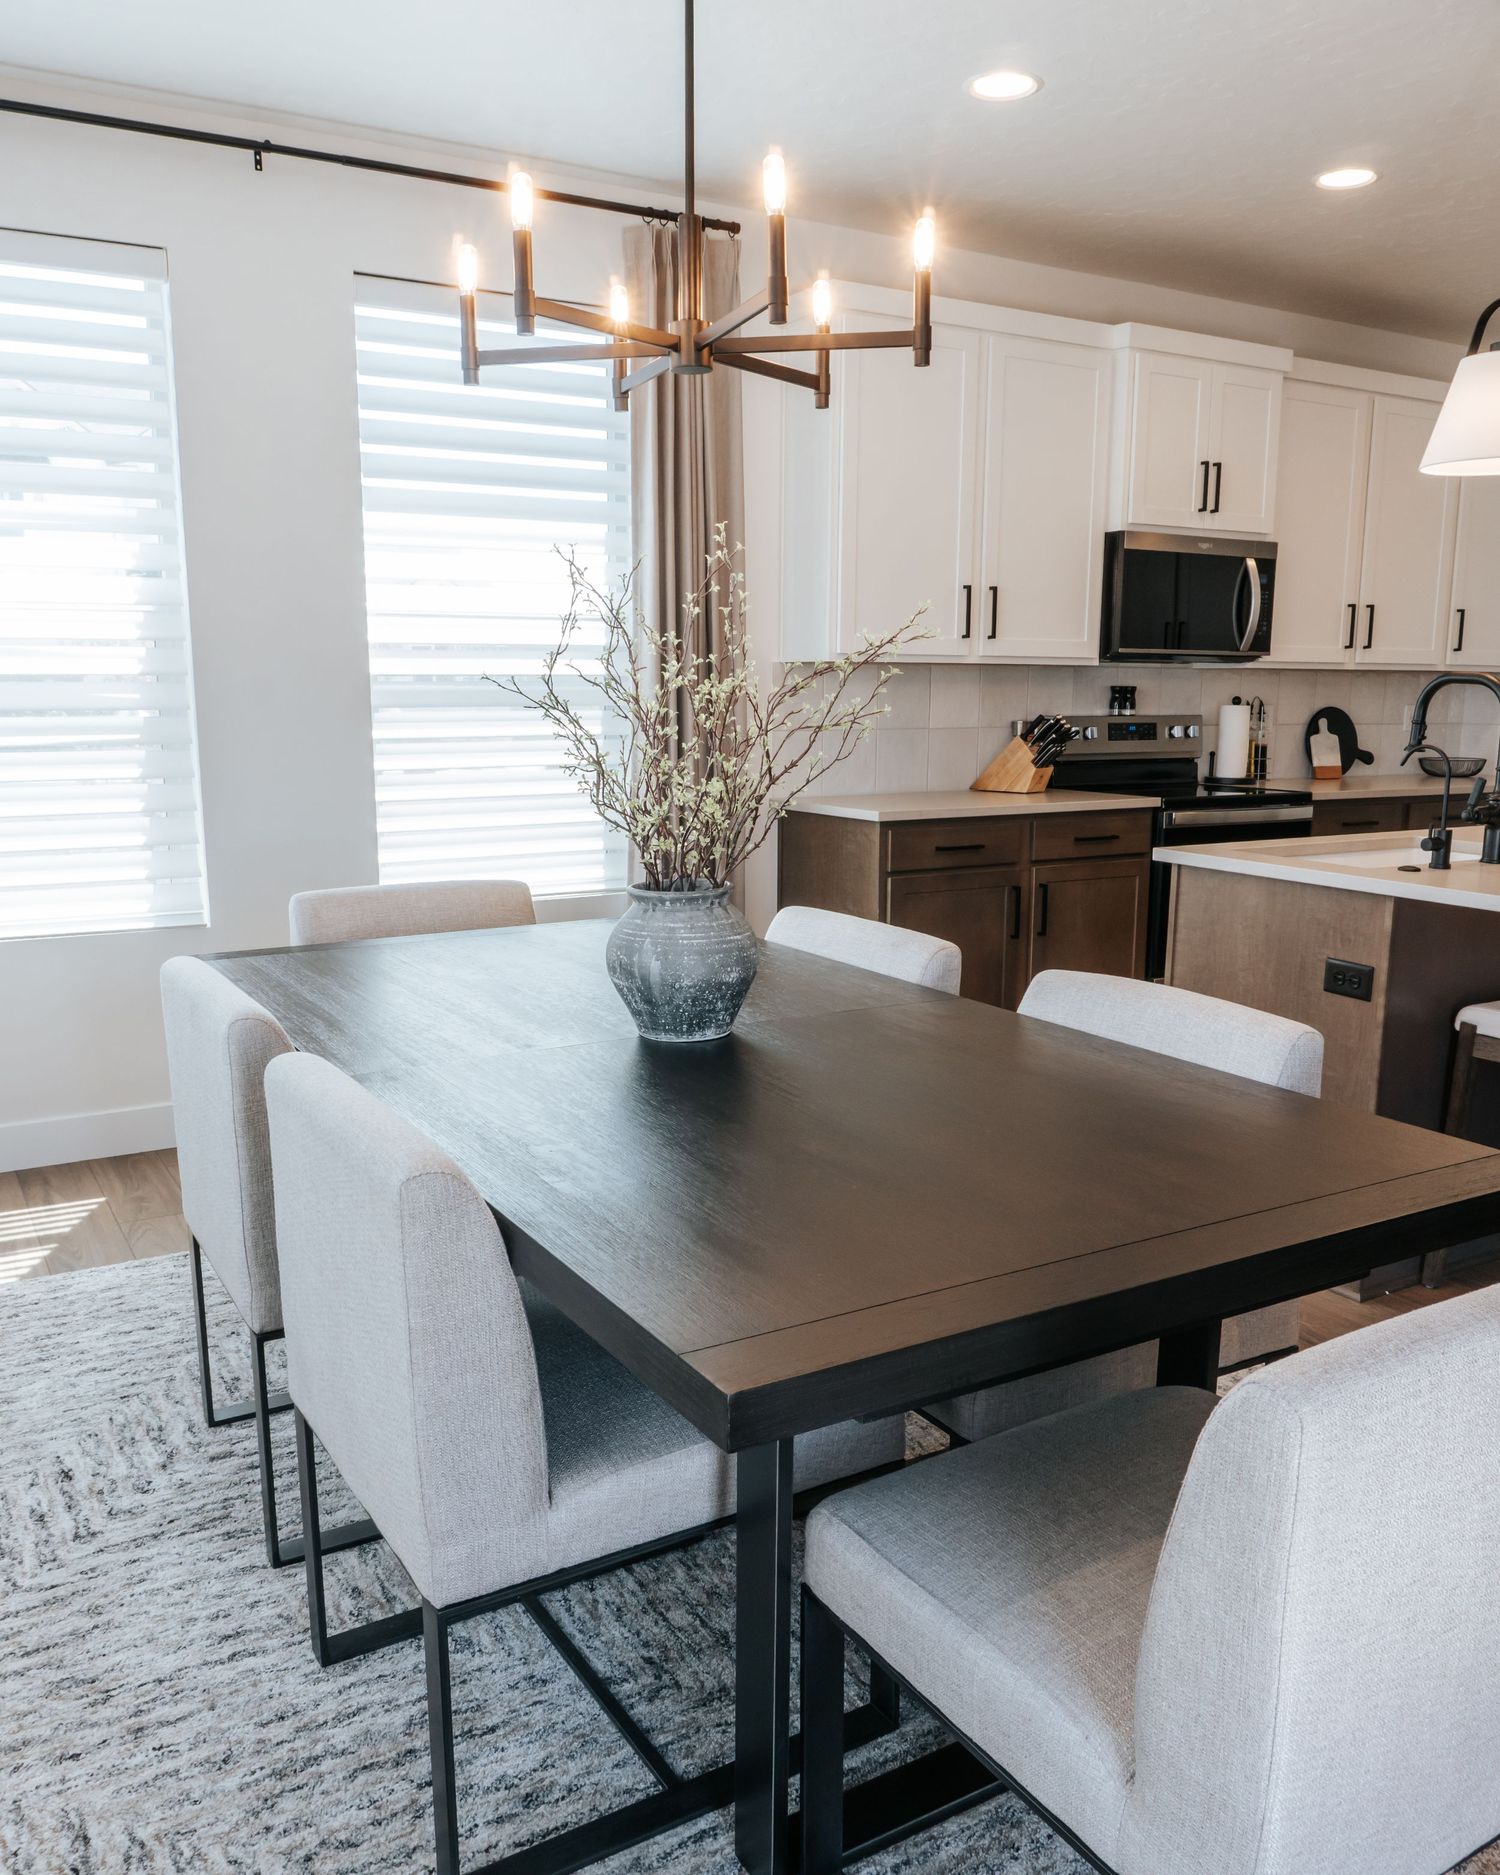
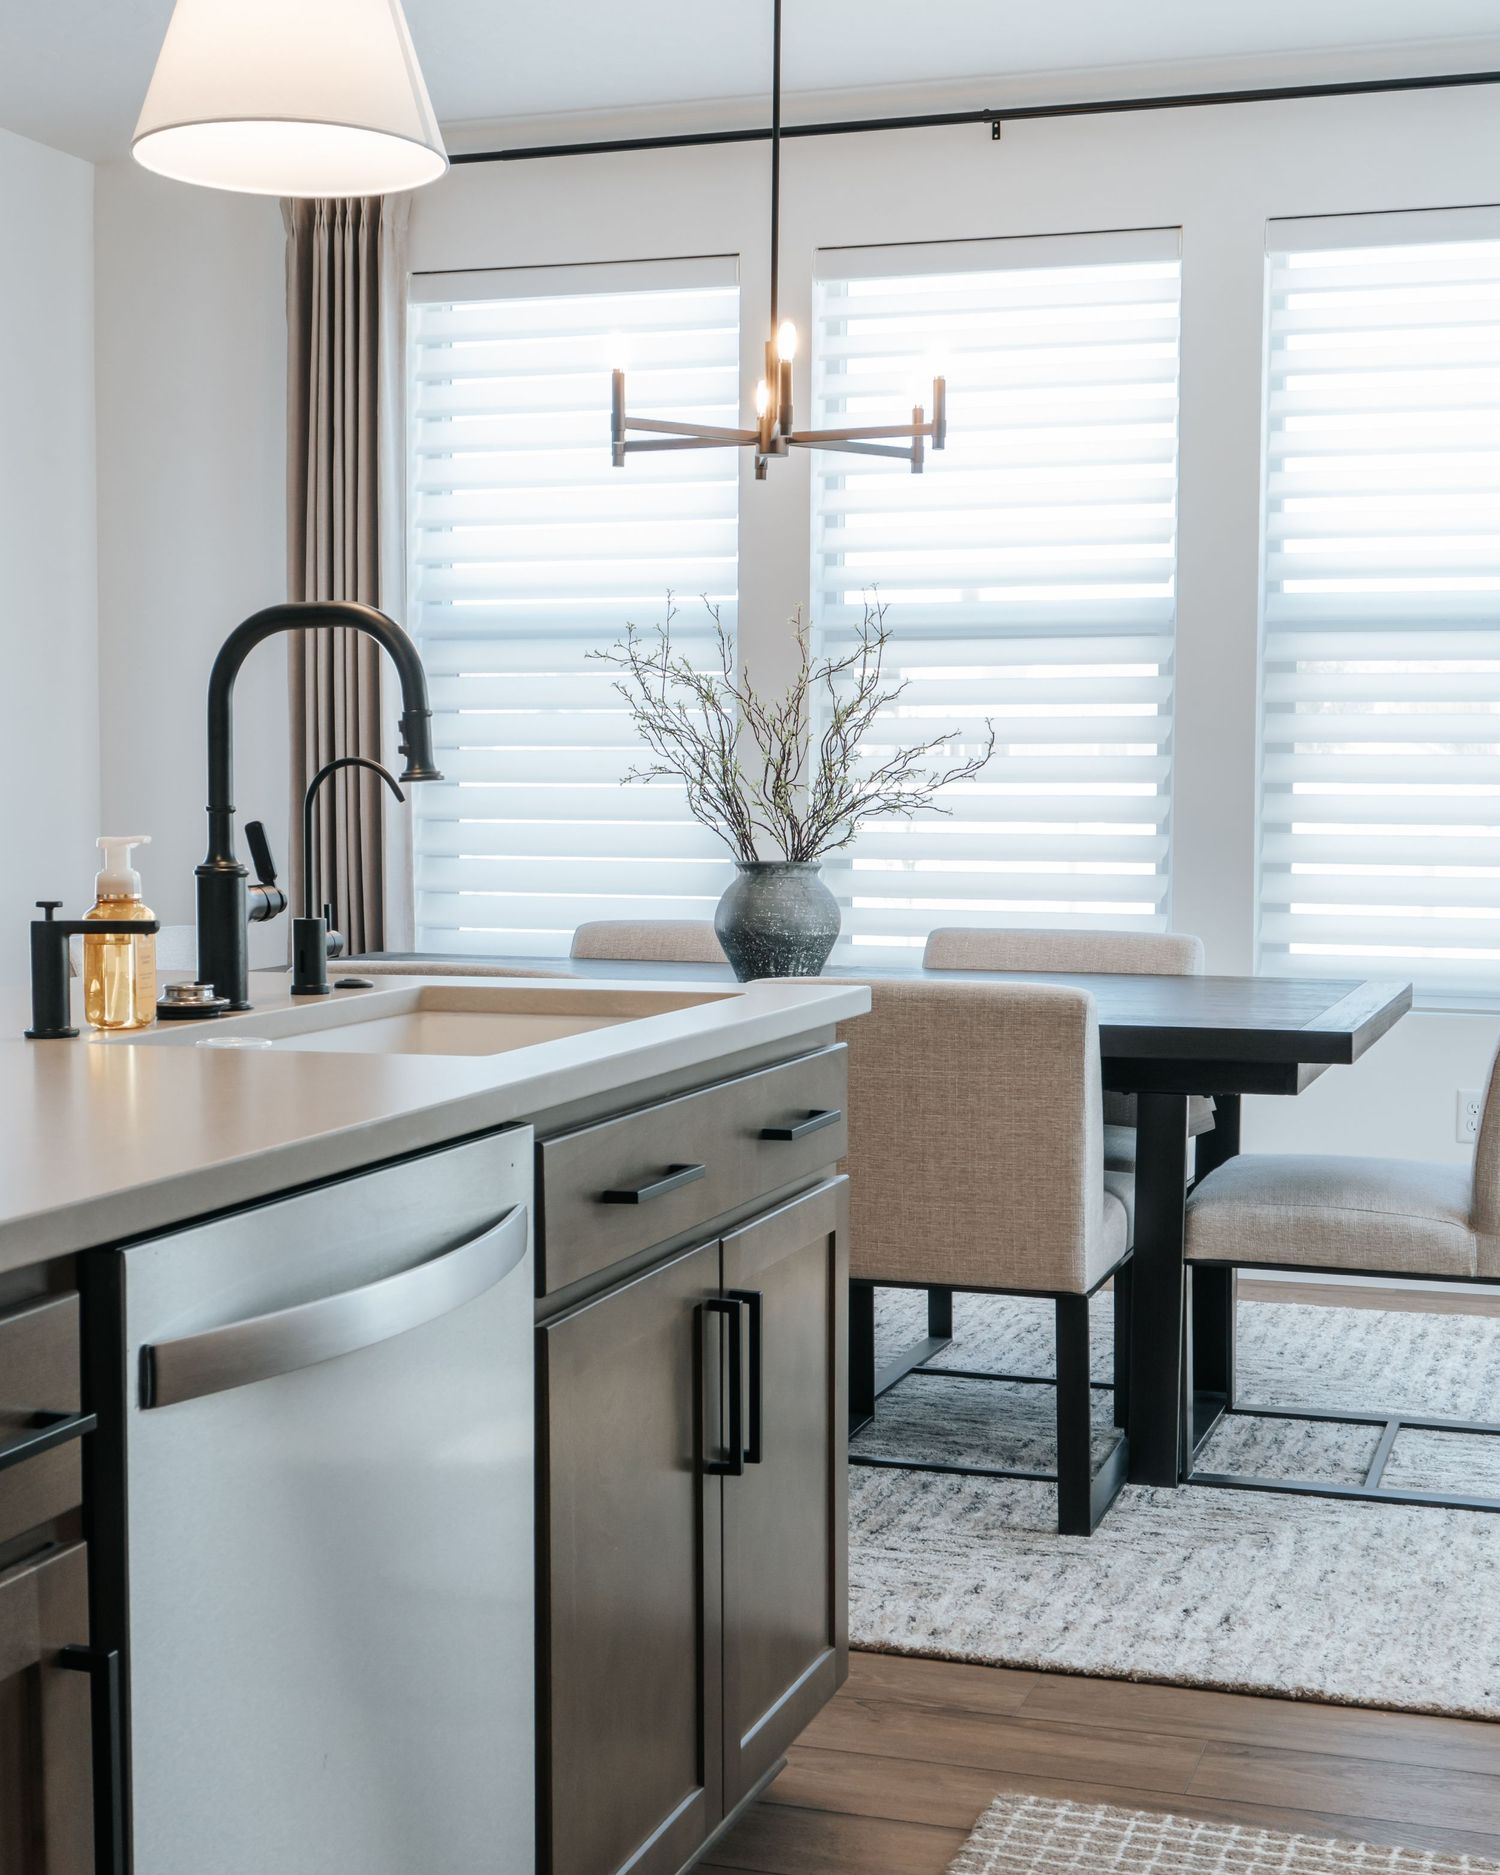
TIP 3: Design as we go
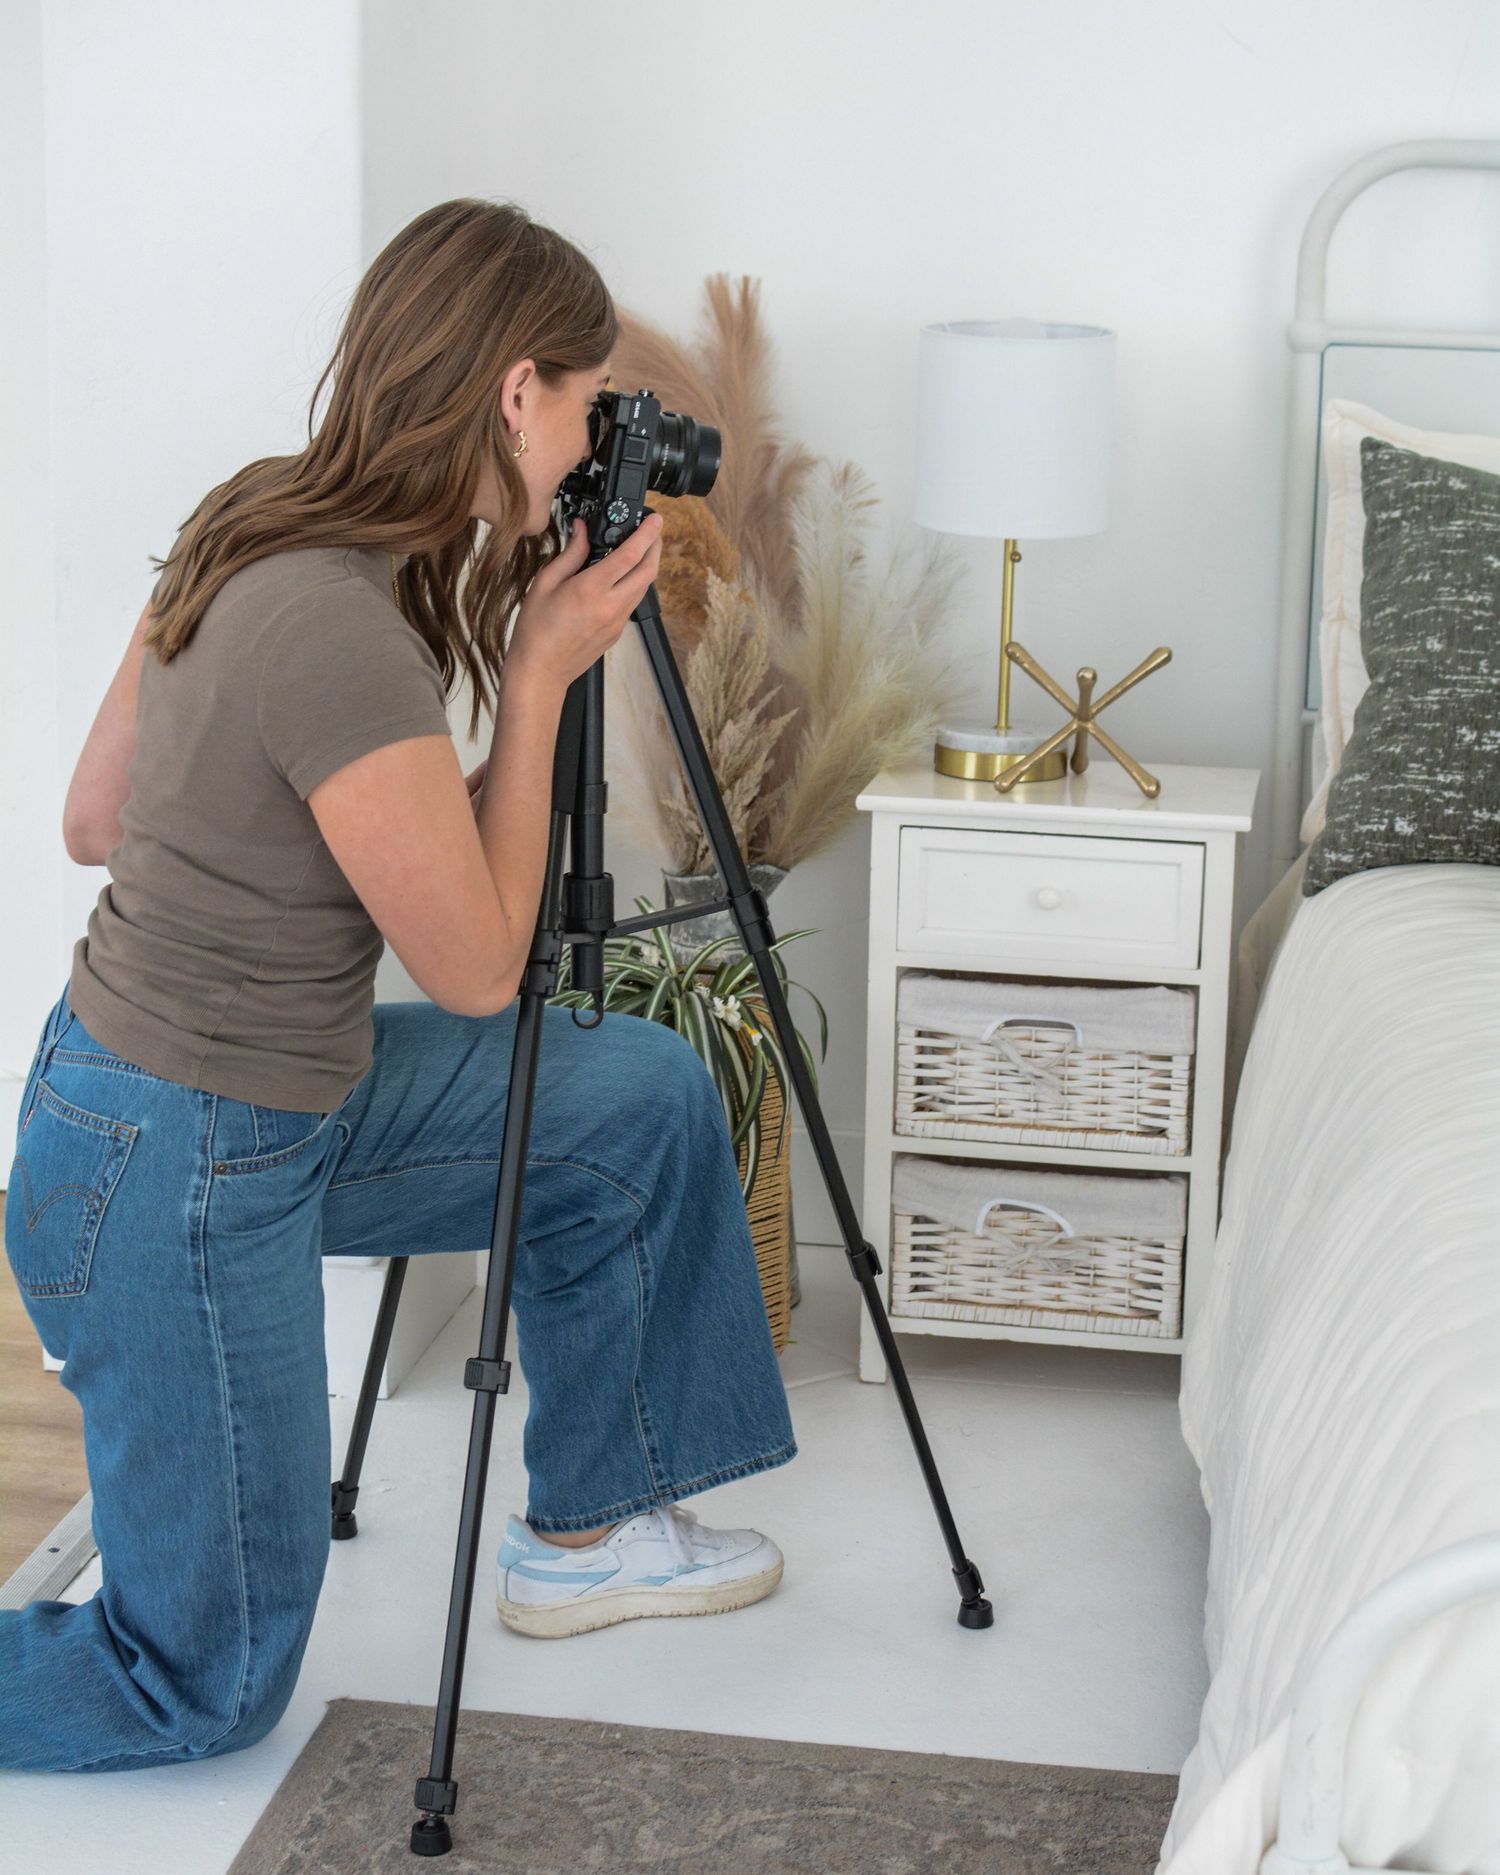
From different angles around the the room, things may need to be shifted slightly to look it's best. This is YOUR project as YOUR design! Please feel free to tweak things as we go: twist the bowl of fruit, change out the floral arrangement, move the chair, etc. I will set up every shot that I feel captures the essence of the design project. To every photoshoot, I bring a tablet that let's you see, in real time, what my camera is seeing. This way you can see exactly what needs to be tweaked and how. Cool right? It's a collaboration together to get you the best end result!
"She truly cares about her clients and it shows in both her communication and her work."
client Review
BONUS TIP: Hire a photographer you trust!
If you have a project finishing soon, and want to talk specifics with me, I'd be happy to do that over the phone! Let's chat about your project details, what you love about it, what makes you nervous about hiring a photographer, and what professional images could do for your website and social media sites!